Our previous article focused on setting up a Microsoft Outlook 2013 rule. This article begins from there, and describes how to configure the MessageExport add-in for Microsoft Outlook to perform a complex automatic email handling operation.
The first step of our project involved creating an Outlook rule to collect messages we received from a client's email domain and copy them to a specific Outlook folder.
This article describes Step 2: Creating a custom MessageExport profile. It will perform these 4 functions:
a. Convert new messages added to a folder into PDF files.
b. Delete the messages after they have been converted.
c. Perform this operation again in xx minutes.
d. Prevent duplicate PDF files by remembering which emails have already been exported.
If you haven't already, download and install copy of MessageExport for Outlook. The free trial runs for 15 days, and will allow you to follow along with this article.
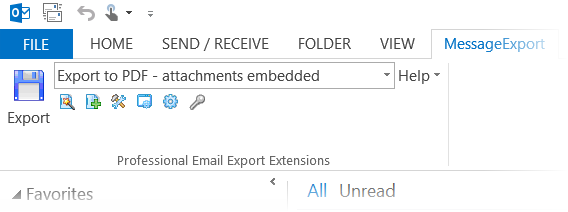
After installation, MessageExport appears in Outlook 2013 on a separate tab.
The first step of our project involved creating an Outlook rule to collect messages we received from a client's email domain and copy them to a specific Outlook folder.
This article describes Step 2: Creating a custom MessageExport profile. It will perform these 4 functions:
a. Convert new messages added to a folder into PDF files.
b. Delete the messages after they have been converted.
c. Perform this operation again in xx minutes.
d. Prevent duplicate PDF files by remembering which emails have already been exported.
Getting Starting.
If you haven't already, download and install copy of MessageExport for Outlook. The free trial runs for 15 days, and will allow you to follow along with this article.
After installation, MessageExport appears in Outlook 2013 on a separate tab.
 | |
| MessageExport in Outlook 2013 |